Mastering Textured Ceiling Finishing Techniques: A Comprehensive Guide
Are you tired of dealing with ceilings that seem flat and uninviting? Do you want to add some visual appeal and character to your room without breaking the bank? If yes, then it's time to explore textured ceiling finishing techniques! In this article, we'll walk you through the world of textured ceilings, detailing the different types, tools, and techniques involved in achieving the perfect finish.
Understanding Textured Ceiling Finishing Techniques
Textured ceilings are a popular choice among homeowners and interior designers alike. They add a unique dimension to a room, making it more visually appealing and interesting to look at. With various types of textures to choose from, you can select the one that suits your style and budget.
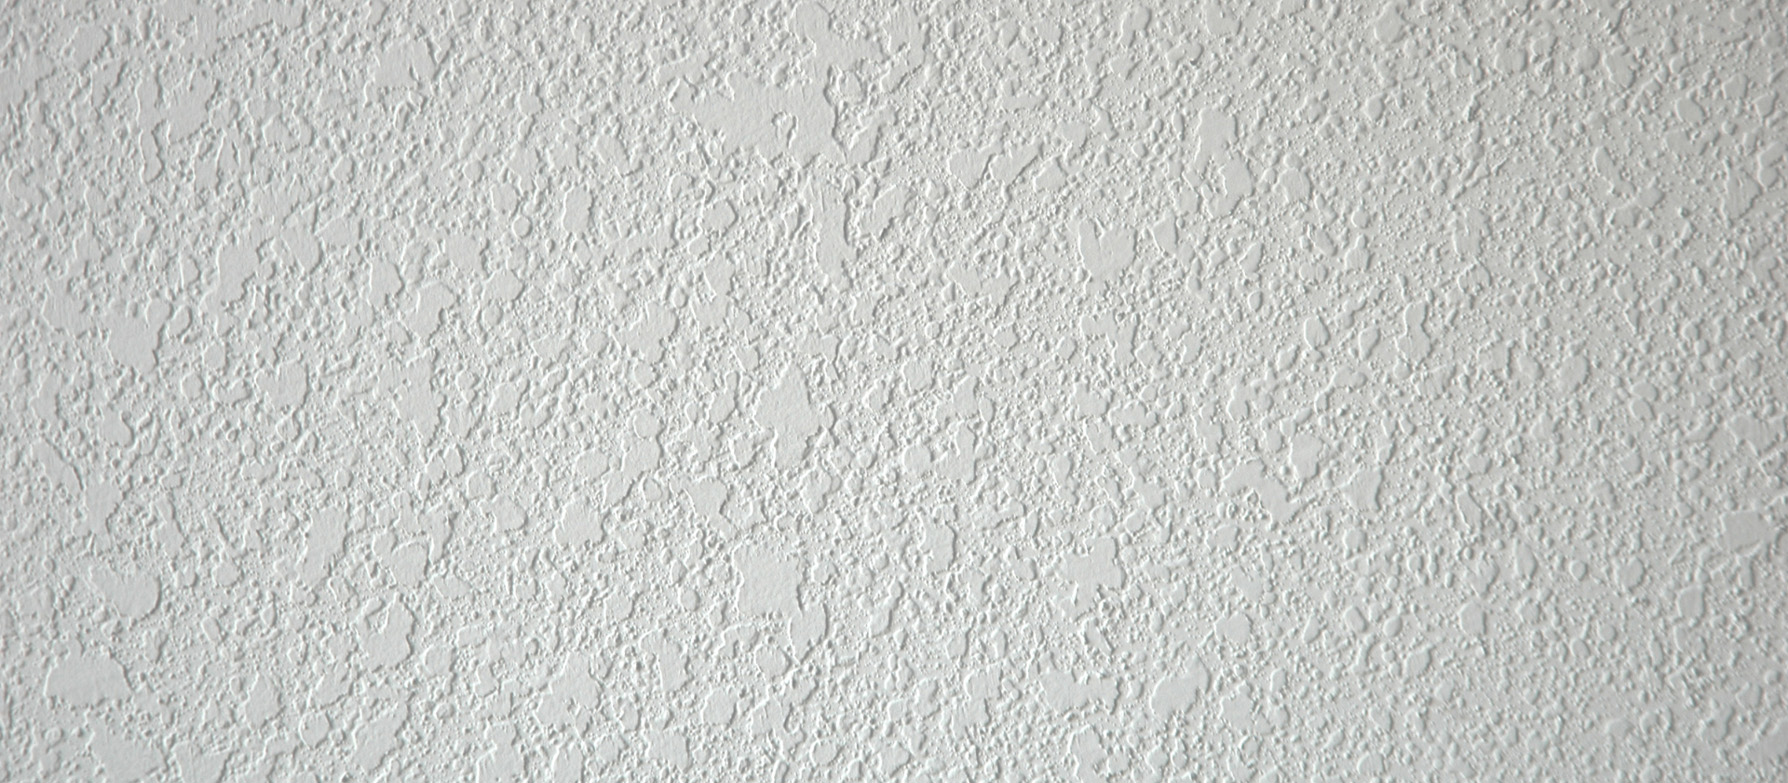
- Popcorn ceilings: A classic texture that features a small, rough texture resembling popcorn.
- Knockdown ceilings: A smooth texture that features a subtle knockdown effect.
- Stucco ceilings: A textured finish that resembles stucco, perfect for Mediterranean or Spanish-styled rooms.
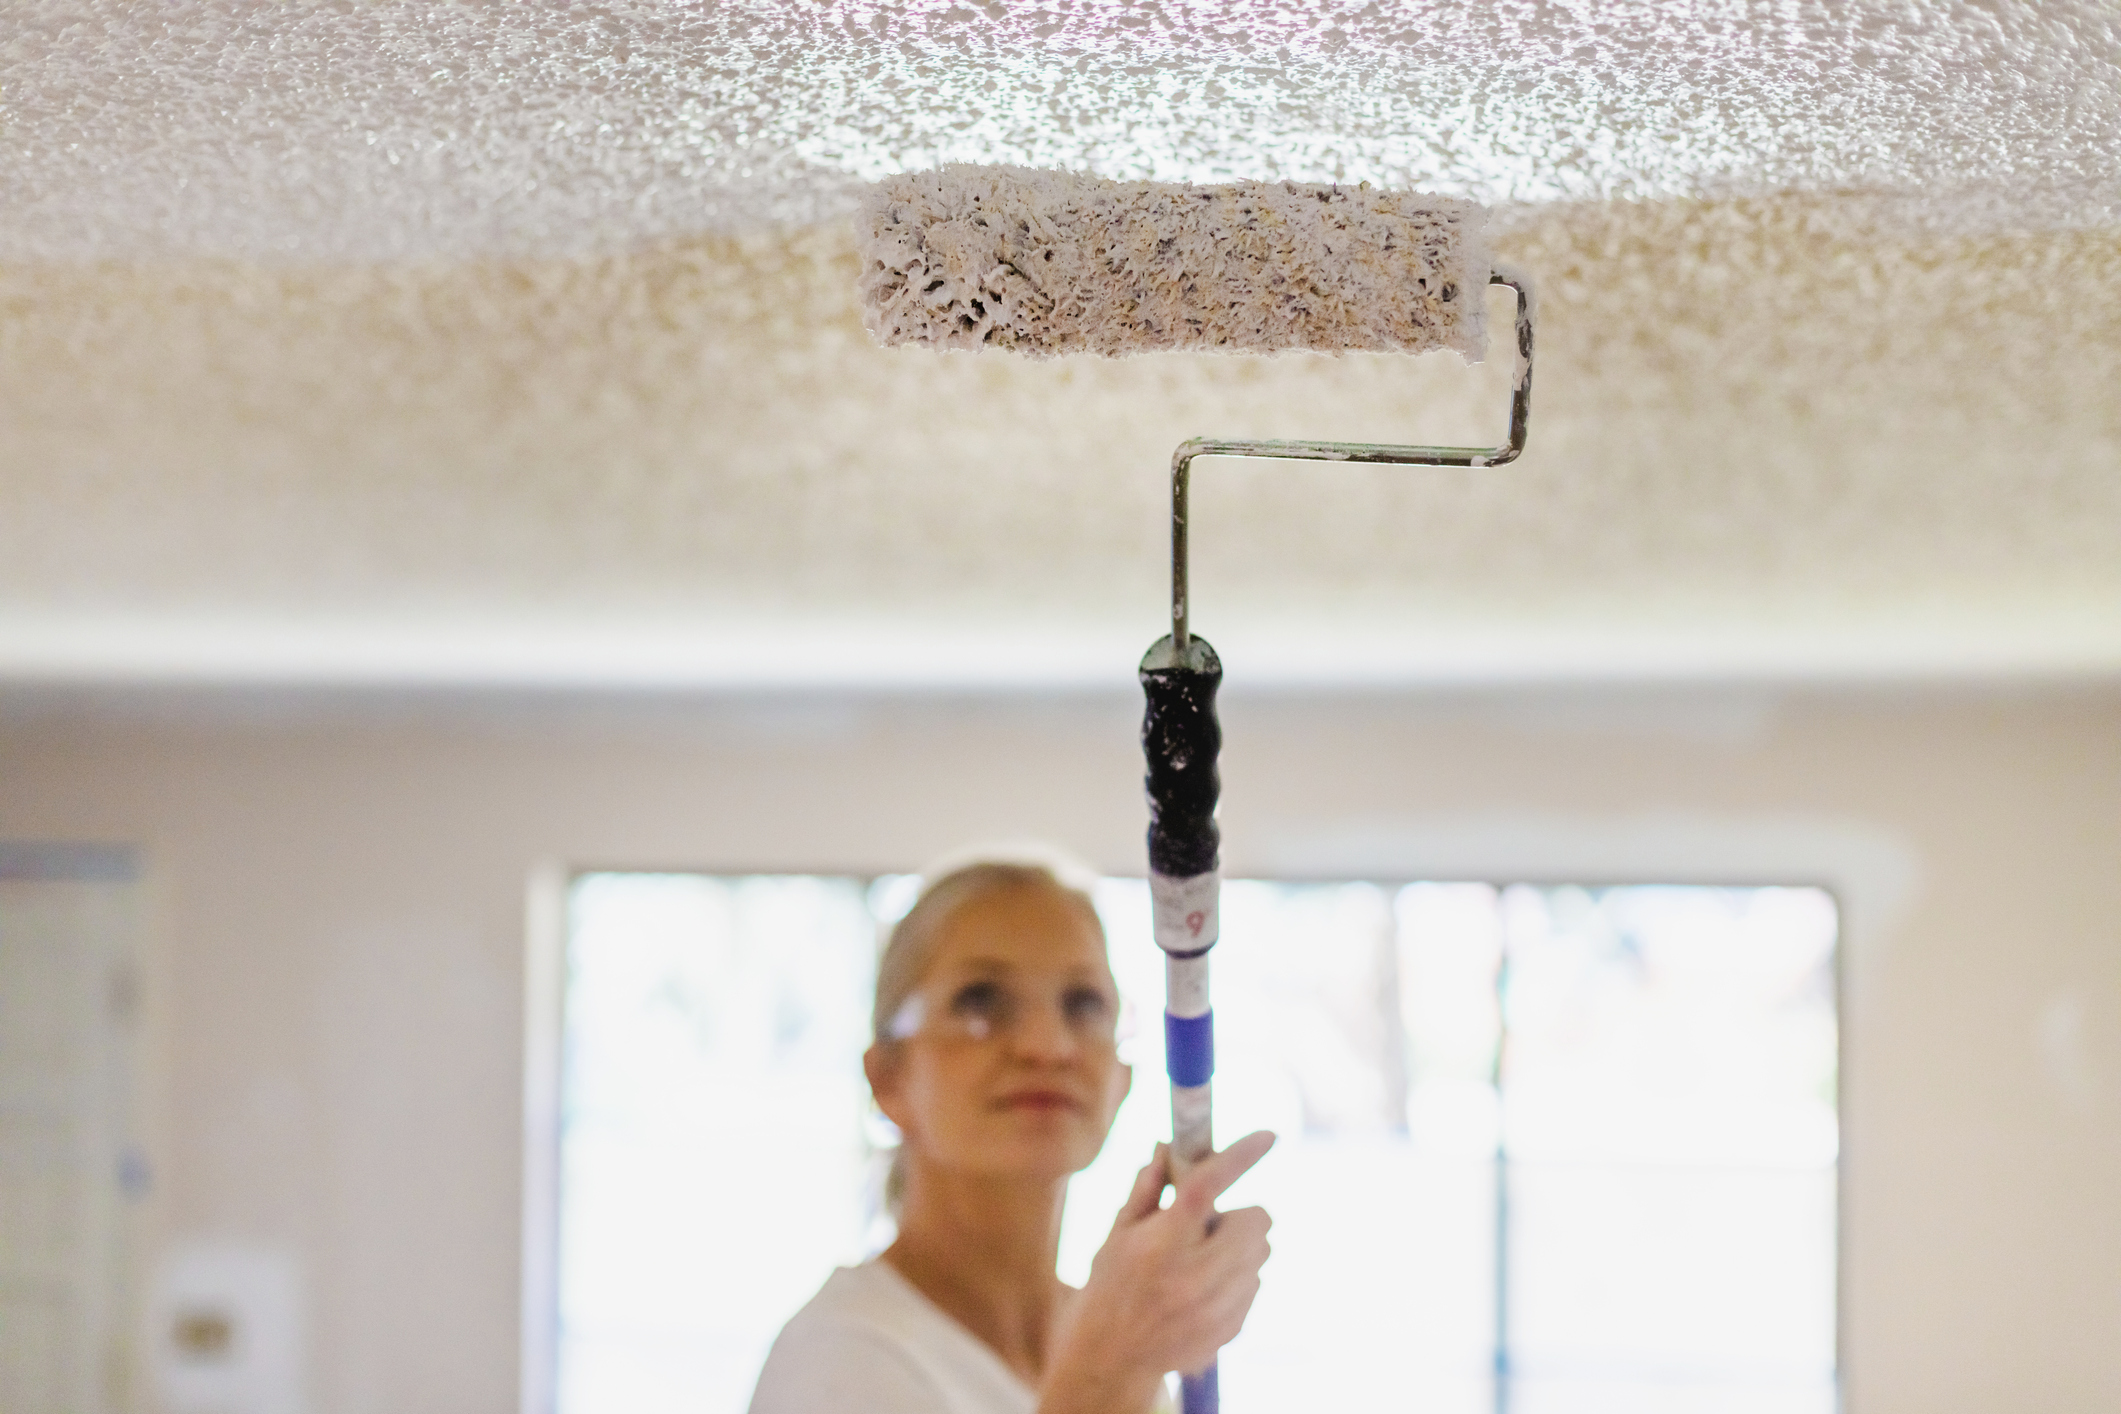
- Roller ceilings: A textured finish created using a roller, ideal for a smooth and even texture.
Tools and Materials Needed
To achieve a smooth, professional-looking finish, you'll need the right tools and materials. These include:

- Drywall mud: A mixture of water and drywall compound used to apply the texture.
- Texture sprayer: A device used to apply the texture evenly and quickly.
- Texture roller: A roller used to apply the texture and create a smooth finish.
- Joint compound: A mixture of water and drywall compound used to smooth out the texture.
- Paint: A coat of paint to seal the texture and protect it from wear and tear.
Step-by-Step Instructions for Achieving a Textured Ceiling Finish
- Prep the ceiling: Clean and prime the ceiling to ensure a smooth finish.
- Apply the drywall mud: Use a texture sprayer or roller to apply the drywall mud evenly.
- Allow the mud to dry: Let the mud dry completely, following the manufacturer's instructions.
- Smooth out the texture: Use a joint compound to smooth out the texture and create a smooth finish.
- Apply paint: Apply a coat of paint to seal the texture and protect it from wear and tear.
Creating a textured ceiling finish requires more than just following a set of steps. It also requires patience, skill, and attention to detail. Here are some expert tips and techniques to help you achieve a flawless finish:
- Use high-quality materials: Invest in high-quality materials, including drywall mud, texture sprayer, and paint, to ensure a smooth finish.
- Practice makes perfect: Don't be discouraged if it takes a few attempts to achieve the perfect finish. Practice makes perfect, and you'll get the hang of it with time.
- Follow the manufacturer's instructions: Always follow the manufacturer's instructions for the products you're using, and you'll be on your way to achieving a smooth finish.
Textured ceiling finishing techniques are a great way to add visual appeal and character to your room. With the right tools and materials, and a bit of practice, you can achieve a smooth, professional-looking finish. Remember to follow the manufacturer's instructions, use high-quality materials, and practice makes perfect. Happy decorating!


 in simple DIY steps - Claire ...")


