DIY Textured Apartment Tile Backsplash: A Renter-Friendly Solution
If you're a renter, you know that permanent renovations can be a challenge. But that doesn't mean you can't have a stylish and functional backsplash in your apartment kitchen or bathroom. In this article, we'll explore the world of DIY textured apartment tile backsplashes, highlighting the benefits, options, and step-by-step guides to help you achieve a beautiful and renter-friendly result.
What is a Textured Apartment Tile Backsplash?
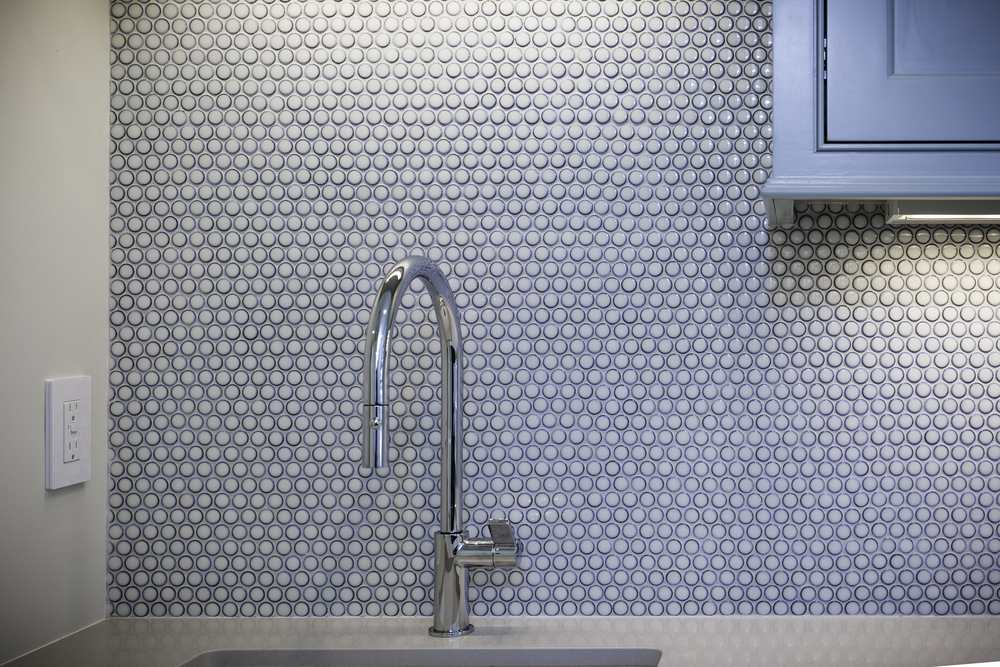
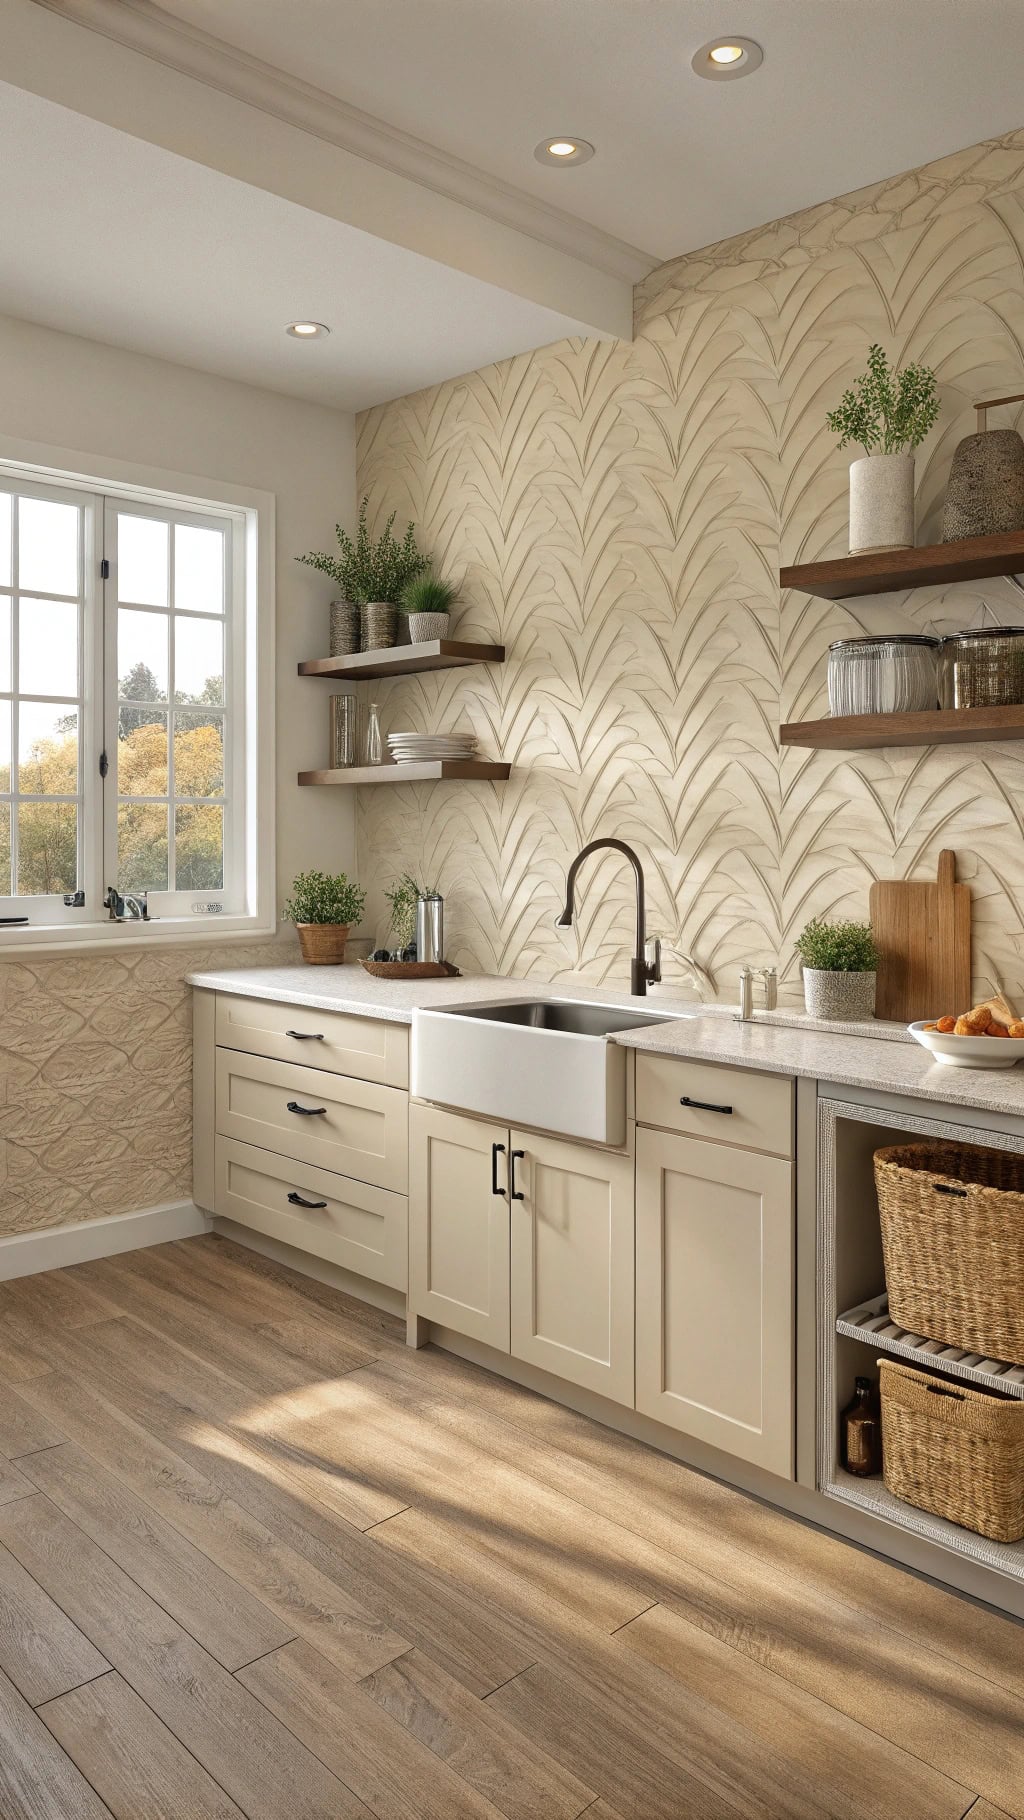
A textured apartment tile backsplash is a type of, well, backsplash that uses tiles with a textured finish to create a unique and visually appealing design. Unlike traditional ceramic tiles, these tiles come in various styles, materials, and textures, making them perfect for renters who want to add some personality to their space without making a long-term commitment.
Benefits of a DIY Textured Apartment Tile Backsplash
Moving forward, it's essential to keep these visual contexts in mind when discussing Diy Textured Apartment Tile Backsplash.
- No Permits Required: As a renter, you're probably not allowed to make permanent renovations. A DIY textured apartment tile backsplash is a perfect solution.
- Easy to Install: Most of these tiles come with a peel-and-stick backing, making installation a breeze.
- Durable and Easy to Clean: Textured tiles are typically made of durable materials, ensuring they withstand the test of time and daily cleaning.
- Low Maintenance: Unlike traditional tile installations, which require grouting and sealing, textured apartment tile backsplashes are virtually maintenance-free.
Options for DIY Textured Apartment Tile Backsplashes
- Peel-and-Stick Tiles: These tiles are the most common type and come in various styles, materials, and textures.
- Cork Tiles: A unique and eco-friendly option that adds warmth and texture to any space.
- Wooden Tiles: For a natural and rustic look, consider using wooden tiles.
- Tiny Tiles: Perfect for creating a mosaic or geometric pattern.
Step-by-Step Guide to Installing a DIY Textured Apartment Tile Backsplash

Before you start, make sure to follow these steps:
- Prepare the surface: Clean the area where you'll be installing the tiles, and ensure it's free from dust, dirt, and old adhesive.
- Measure the area: Measure the space where you'll be installing the tiles, and calculate the number of tiles you'll need.
- Apply the tiles: Peel-and-stick the tiles to the surface, following the manufacturer's instructions.
- Seal the tiles (optional): If you choose to use a sealant, apply it to the tiles to protect them from moisture and stains.
Additional Tips and Tricks
To ensure a smooth and successful installation, keep the following tips in mind:
- Choose the right tiles: Select tiles that match your desired style, material, and texture.
- Prepare the surface: Clean and dust the area before installing the tiles.
- Measuring is key: Measure carefully to avoid any mistakes or cuts during installation.
- Peel-and-stick with care: Apply the tiles carefully, following the manufacturer's instructions.
A DIY textured apartment tile backsplash is a fantastic solution for renters who want to add some personality to their space without making a long-term commitment. With the right materials, tools, and a bit of patience, you can create a stunning and functional backsplash that will make your apartment kitchen or bathroom look amazing.
Additional Resources
- Videos: 'How to Install Peel-and-Stick Tiles' and 'Textured Apartment Tile Backsplash Tutorial' are excellent resources to get you started.
- Blogs: Sites like 'A Spark of Creativity' and 'Designbuzz' offer valuable insights and step-by-step guides for creating unique backsplashes.

")


:strip_icc():format(webp)/bhg-kitchen-textured-backsplash_0QZV-9LAKAWB8Xoo7LNpS2-50ce4846d26a457385a1cc409c32b51c.jpg "How to Hack a Tile Backsplash Without Using Peel-and-Stick | Apartment ...")


![20 Cheap Backsplash Ideas DIY [Do Within Minutes] - Diy Textured Apartment Tile Backsplash](https://www.soulandlane.com/wp-content/uploads/2024/02/Geometric-Vertical-Backsplash.jpg "20 Cheap Backsplash Ideas DIY [Do Within Minutes]")
 - DIY Dalia")


